

Quick answer
Remove normal, stubborn, or broken Windows apps safely and clean up leftovers without deleting shared system files. The safest approach is to identify exactly what is failing, use the built-in or vendor-supported method first, and test after each change. This prevents a simple problem from turning into a larger one.
Step-by-step solution
Use Windows Settings first
Open Settings > Apps > Installed apps, find the program, open its menu and choose Uninstall. Follow the vendor uninstaller and restart if requested.
If Uninstall is missing
Check whether the app came from Microsoft Store, is a portable app, or is managed by work/school. Do not manually delete Program Files as a first step.
Try Control Panel for classic desktop software
Open Control Panel > Programs > Programs and Features. Select the application and choose Uninstall or Change.
Repair a broken installer registration
If Windows says the installer is missing or another installation is in progress, restart first. Re-download the same product installer from its official vendor; many installers offer Repair or Remove.
Handle stubborn leftovers carefully
After a successful uninstall, remove only clearly identified user data/cache if you no longer need it. Keep shared runtimes, drivers and unknown folders.
Use an uninstaller tool only when needed
If the normal vendor uninstall fails or leaves a broken entry, a dedicated uninstaller can help inspect remnants. Create a restore point and review every item before removal.
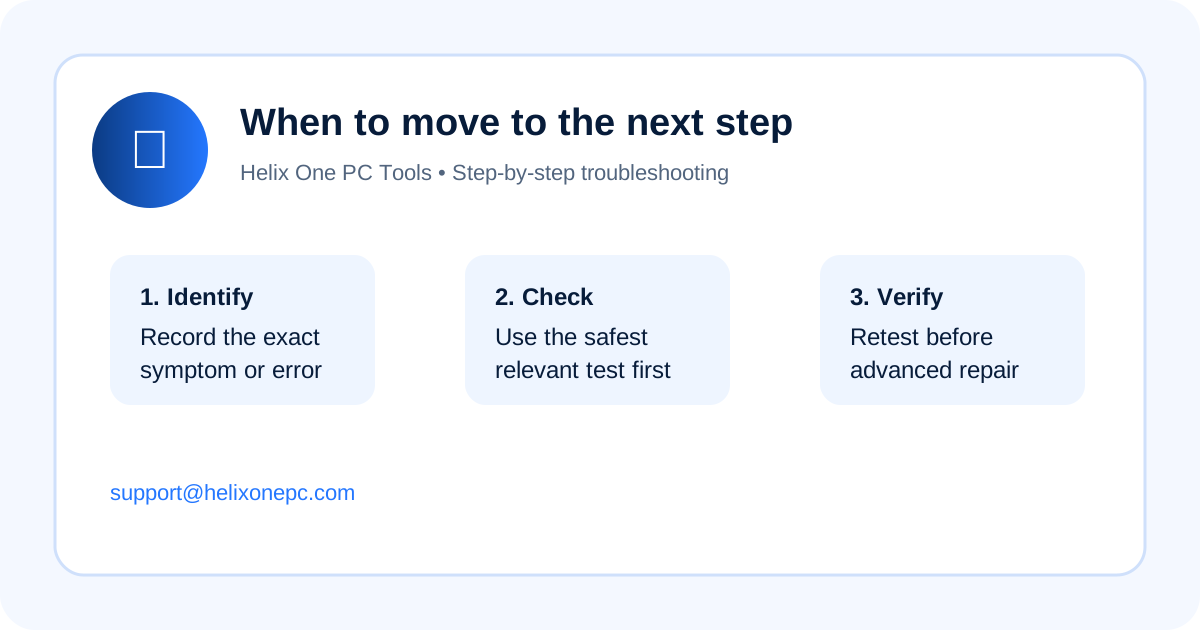
Why these steps are in this order
Use Windows Settings first: Open Settings > Apps > Installed apps, find the program, open its menu and choose Uninstall. Follow the vendor uninstaller and restart if requested. This order is intentional: it starts with reversible checks and moves toward more specific repair only when the earlier result supports it.
If Uninstall is missing: Check whether the app came from Microsoft Store, is a portable app, or is managed by work/school. Do not manually delete Program Files as a first step. This order is intentional: it starts with reversible checks and moves toward more specific repair only when the earlier result supports it.
Try Control Panel for classic desktop software: Open Control Panel > Programs > Programs and Features. Select the application and choose Uninstall or Change. This order is intentional: it starts with reversible checks and moves toward more specific repair only when the earlier result supports it.
Repair a broken installer registration: If Windows says the installer is missing or another installation is in progress, restart first. Re-download the same product installer from its official vendor; many installers offer Repair or Remove. This order is intentional: it starts with reversible checks and moves toward more specific repair only when the earlier result supports it.
Handle stubborn leftovers carefully: After a successful uninstall, remove only clearly identified user data/cache if you no longer need it. Keep shared runtimes, drivers and unknown folders. This order is intentional: it starts with reversible checks and moves toward more specific repair only when the earlier result supports it.
Use an uninstaller tool only when needed: If the normal vendor uninstall fails or leaves a broken entry, a dedicated uninstaller can help inspect remnants. Create a restore point and review every item before removal. This order is intentional: it starts with reversible checks and moves toward more specific repair only when the earlier result supports it.
Recommended tools and next path
Recommendation based on this topic
HelixOnePC Uninstaller is the featured option for stubborn Windows software removal. An alternative is the application vendor’s own cleanup/removal tool when one exists.
Recommendations are secondary to the troubleshooting steps above. Use software only when it matches the actual problem and obtain installers from the official vendor.
When to stop and get help
Stop before destructive repair if the device contains important unbacked-up data, encryption/recovery keys are involved, hardware is failing, the system cannot boot reliably, or you are unsure what a command or setting will change. For help, contact support@helixonepc.com or use Live Chat.
Related troubleshooting
Describe another problem · Windows Error Lookup · Browse all guides